
How to install the vapour barrier without errors
Published on 02.08.2026 · Isoflect Insulation technical team
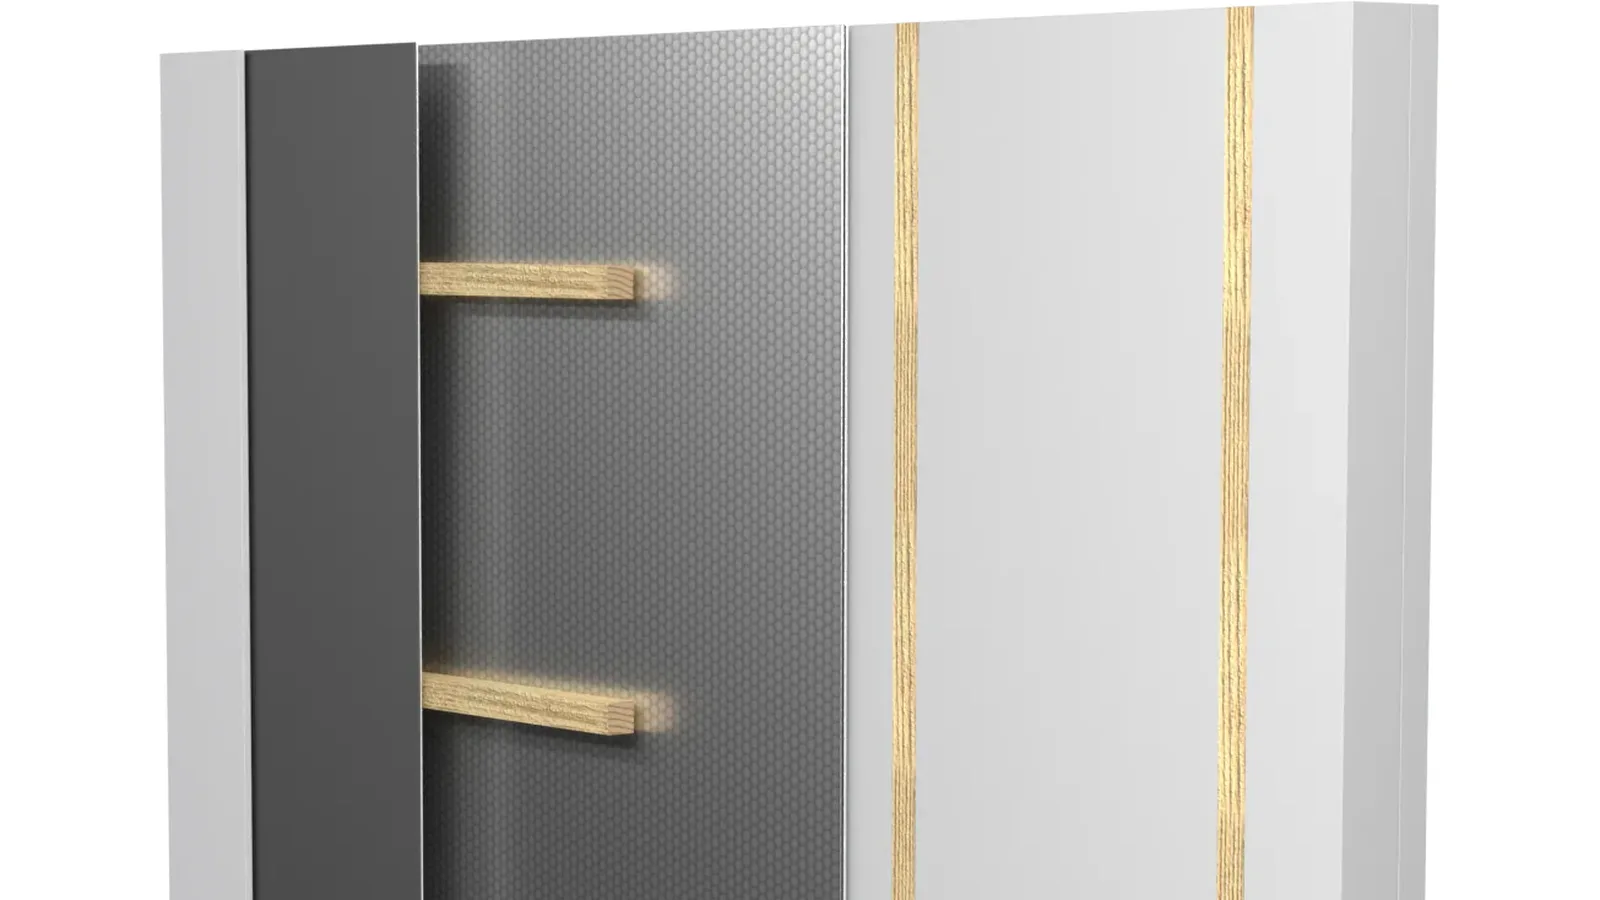
A correctly installed vapour barrier is not visible after finishing, yet it protects the structure of the house for years. If you wish to know how to install a vapour barrier, the basic rule is simple: the membrane must form a continuous layer, airtight and vapour-tight, on the appropriate side of the thermal insulation. In practice, most problems arise not from the choice of membrane, but from untreated joints, perforations and junctions left unsealed.
In a habitable attic or in a lightweight wall, warm indoor air carries water vapour. When this air reaches the cold zone of the structure, the vapour may condense in the mineral wool, timber or metal elements. The result may be reduced thermal performance, mould, a persistent odour and deterioration of the structure. A membrane selected and installed as a system reduces this risk and contributes to predictable thermal comfort.
Understand the role of the vapour barrier before installation
The vapour barrier is not the same as the anti-condensation membrane or the diffusion membrane beneath the roof covering. Each works in a different position and has a distinct function. The diffusion membrane is usually placed towards the outside of the roof, where it protects the thermal insulation from water and allows vapour to escape from the structure. The vapour barrier is installed towards the heated space, on the inside, in order to limit the ingress of moisture into the thermal insulation.
The level of resistance to vapour diffusion, frequently expressed by the Sd value, also matters. A membrane with a high Sd strongly limits the passage of vapour, whereas a membrane with variable permeability can adapt its behaviour according to the moisture within the assembly. The choice depends on the complete layering of the wall or roof, on the climate, on ventilation and on the exterior finishes.
For dwellings in the United States, the placement of the membrane must also be verified in relation to the climate zone, the local code and the type of structure. In predominantly cold zones, vapour control is usually provided towards the inside of the thermal insulation. In hot and humid zones, where air conditioning keeps the interior cooler than the exterior, the solution may be different. Do not automatically apply the same recipe to a habitable attic in a cold zone and to an exterior wall in Florida or Texas.
How to install a vapour barrier in a habitable attic
In a habitable attic, the vapour barrier is installed after the insulation has been placed between the rafters and before the substructure for the plasterboard cladding. The membrane must be oriented in accordance with the manufacturer's instructions, then stretched evenly over the inner face of the rafters. Do not tension it excessively. A membrane stretched very tightly may tear with the natural movements of the timber or when the profiles are fixed.
Begin the installation from the bottom upwards, with the strips positioned horizontally or vertically, depending on the geometry of the roof structure and the width of the roll. Overlaps must be sufficient for reliable bonding, usually a minimum of 10 cm, although the instructions of the chosen system take precedence. Temporary fixing may be carried out with staples in the area that will subsequently be covered by tape or by a counter-structure.
Seal each overlap with adhesive tape intended for the membrane. General-purpose packaging tape is not a solution for construction: the adhesive may age, and the seal is lost precisely where you can no longer intervene without removing the finish. For junctions with masonry, beams, chimneys or elements with irregular surfaces, use a sealing adhesive compatible with the membrane and the substrate.
Create a service void for building services
After the membrane has been installed, a grid of battens or metal profiles creates a service void between the vapour barrier and the interior cladding. This detail is one of the most reliable investments in a habitable attic. Cables, electrical boxes and other services can be routed without repeatedly perforating the membrane.
If pipes or cables must pass through the barrier, each penetration must be treated with sealing grommets or with flexible penetration tape. A single small hole does not appear serious, but a habitable attic often has dozens of perforations. Together, these allow humid air to circulate towards the cold zone of the roof.
Installation in lightweight walls and timber-frame constructions
In a wall with a timber or metal frame, the thermal insulation is installed between the studs, without gaps and without unnecessary compression. The vapour barrier is then applied to the inner face of the frame, continuously from floor to ceiling. At the junctions between walls, ceiling, windows and doors, continuity matters more than speed of work.
Around windows, do not cut the membrane exactly along the outline and do not leave the edges free. Make controlled cuts, fold the material back towards the frame of the opening and seal it with suitable tape. The junction must be coordinated with the sealing layer of the window, not treated as mere finishing work.
Avoid installing a highly vapour-tight barrier on both faces of a wall. An assembly enclosed between two layers with very low diffusion may retain accidental moisture originating from construction, minor leaks or condensation. The wall must be designed to manage moisture, not merely to stop it from a single direction.
The vapour barrier beneath the floor
For floors, the correct position depends on the substrate. Over a concrete slab, the vapour control membrane can limit the moisture rising from the concrete towards the finish, particularly beneath laminate flooring, engineered wood or floating systems. Apparently dry concrete may retain moisture for a prolonged period, and this may affect adhesives, tiles or timber flooring.
The substrate must be clean, dry, level and free of edges that could perforate the membrane. Roll out the material with overlaps in accordance with the product specification, seal the joints and turn the membrane up slightly around the perimeter before installing the skirting boards. If you are installing underfloor heating, carefully verify the compatibility of each layer with the heating system and with the type of finish chosen.
A reflective foil can contribute to thermal performance only in the configuration for which it was designed. In many applications, a reflective surface requires an air space in order to provide the declared radiant benefit. Do not assume that any metallised foil automatically replaces a vapour barrier certified for floors.
The details that make the difference between an installed membrane and a sealed system
Before cladding, check all overlaps, corners, junctions and areas around penetrations. The light of a torch directed from the opposite side can reveal small cuts or holes. A careful inspection now costs little compared with remedying condensation after the plasterboard or the floor finish has been installed.
The most frequent mistakes are the use of incompatible tapes, staples left unsealed, membrane torn at the corners, the absence of a junction with the perimeter walls and the installation of the membrane on the wrong side of the insulation. Another error is confusing vapour tightness with ventilation. A well-sealed house requires controlled ventilation, not unplanned infiltration through walls and roof.
Choose the membrane according to the assembly, not the price of the roll
An effective vapour barrier is part of a system comprising thermal insulation, membranes, tapes, adhesives and installation details. The price per square metre of a membrane says little if the joints must subsequently be redone or if the system is not compatible with your walls, roof or floor.
For a habitable attic, an unheated attic, a lightweight wall or a floor over concrete, the correct solution begins with identifying the existing layers and the way in which moisture circulates through them. Isoflect can assist in configuring a package adapted to the installation area, with membranes and sealing accessories that work together.
Once you have sealed the last joint, keep the membrane documentation and photographs of the installation before it is closed. You will have a useful reference for any future intervention and the assurance that the structure of the dwelling is protected by an intelligent solution, not merely covered with a membrane.
Not sure which Isoflect product suits you? See Reflectiva Multistrat or open the package configurator to find out exactly what you need and in what quantity.